!!EXCLUSIVE DEAL FOR YOU!!
SKINCARE FREAK
If you’ve been following me for some time now, you know that I am very into skincare and have always tried to give my skin the best. That’s why I have a regular facial treatment provider that I go to to get my clogged pores cleared up and my messy eyebrows tidied. However recently I’ve used up all the credits in my purchased package so I decided to try something new.
A huge signboard in Nexus Clinic.
PARKING WOES? NUH-UH
Previously known as Mediviron UOA, it has recently rebranded to Nexus Clinic, located in the heart of Kuala Lumpur’s Golden Triangle. When I first saw its location, I was like, “uh-oh, parking problem!” Since my appointment was at 4.00pm, I decided to get there earlier in case I couldn’t find a carpark. Guess what? I was surprised with a large open carpark right next to the building charging only RM10 per entry (much cheaper than inside the building LOL)! Man!
FINDING THE CLINIC ITSELF
I would recommend you to slip your car into the open carpark. It will cost much less compared to parking in the building itself if you’re going to be there for a while. I brought my mum with me to be my photographer and we argued about where to park. If I’d listened to her we could’ve save RM5! *regrets* Also, it is more convenient (and closer) to walk from the open carpark to the clinic. You will see Subway once you cross the gate. Just walk down the stairs next to it and you will see the clinic on your right.
p.s. if you’re parking in the building, get to the security/information counter on Ground Floor to get directed to the clinic.
THE BEST FOR YOU
When I arrived, I was asked to fill in a registration form at the counter as it was my first time there. After filling in the form, I waited for a few minutes before I was brought in to discuss my conditions and treatment options. Prior to every treatment, you will meet with a doctor who will get to know your condition and come up with the most suitable treatment for your skin. They will also try their best to make sure that you understand your treatment options before you make any decisions. I was recommended the Medi Spa facial.
TAKE A LOOK AROUND
Before I start blabbing about the super fancy facial, let me show you around with my camera.
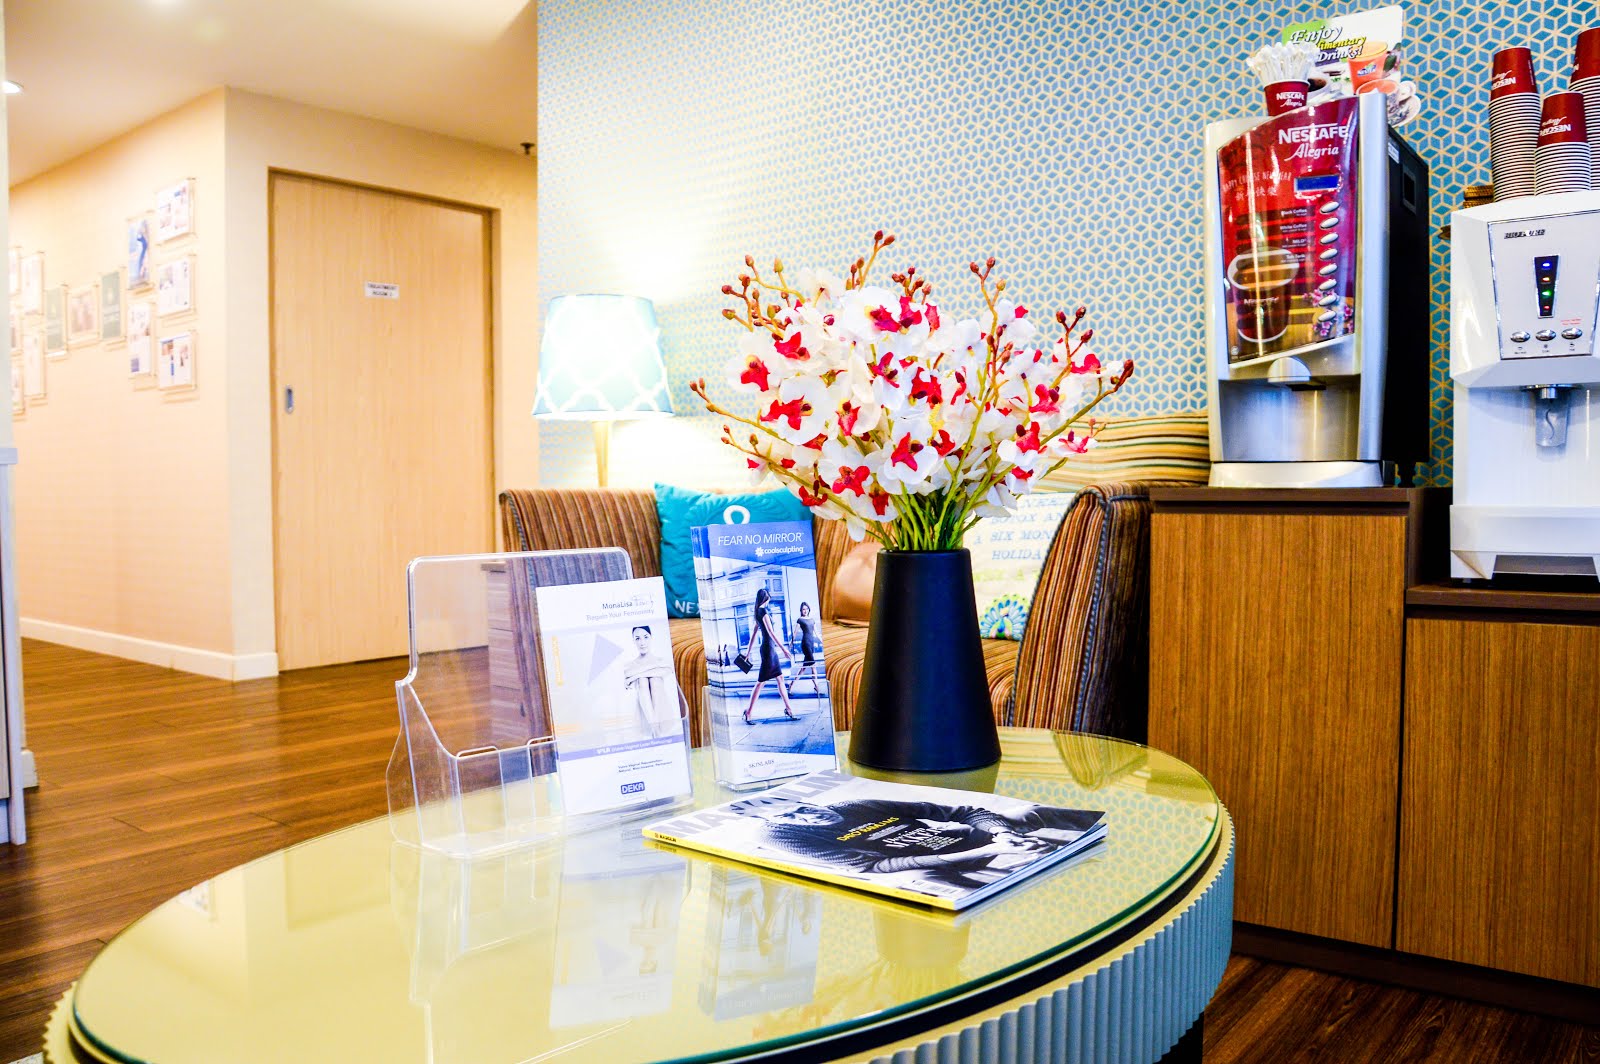
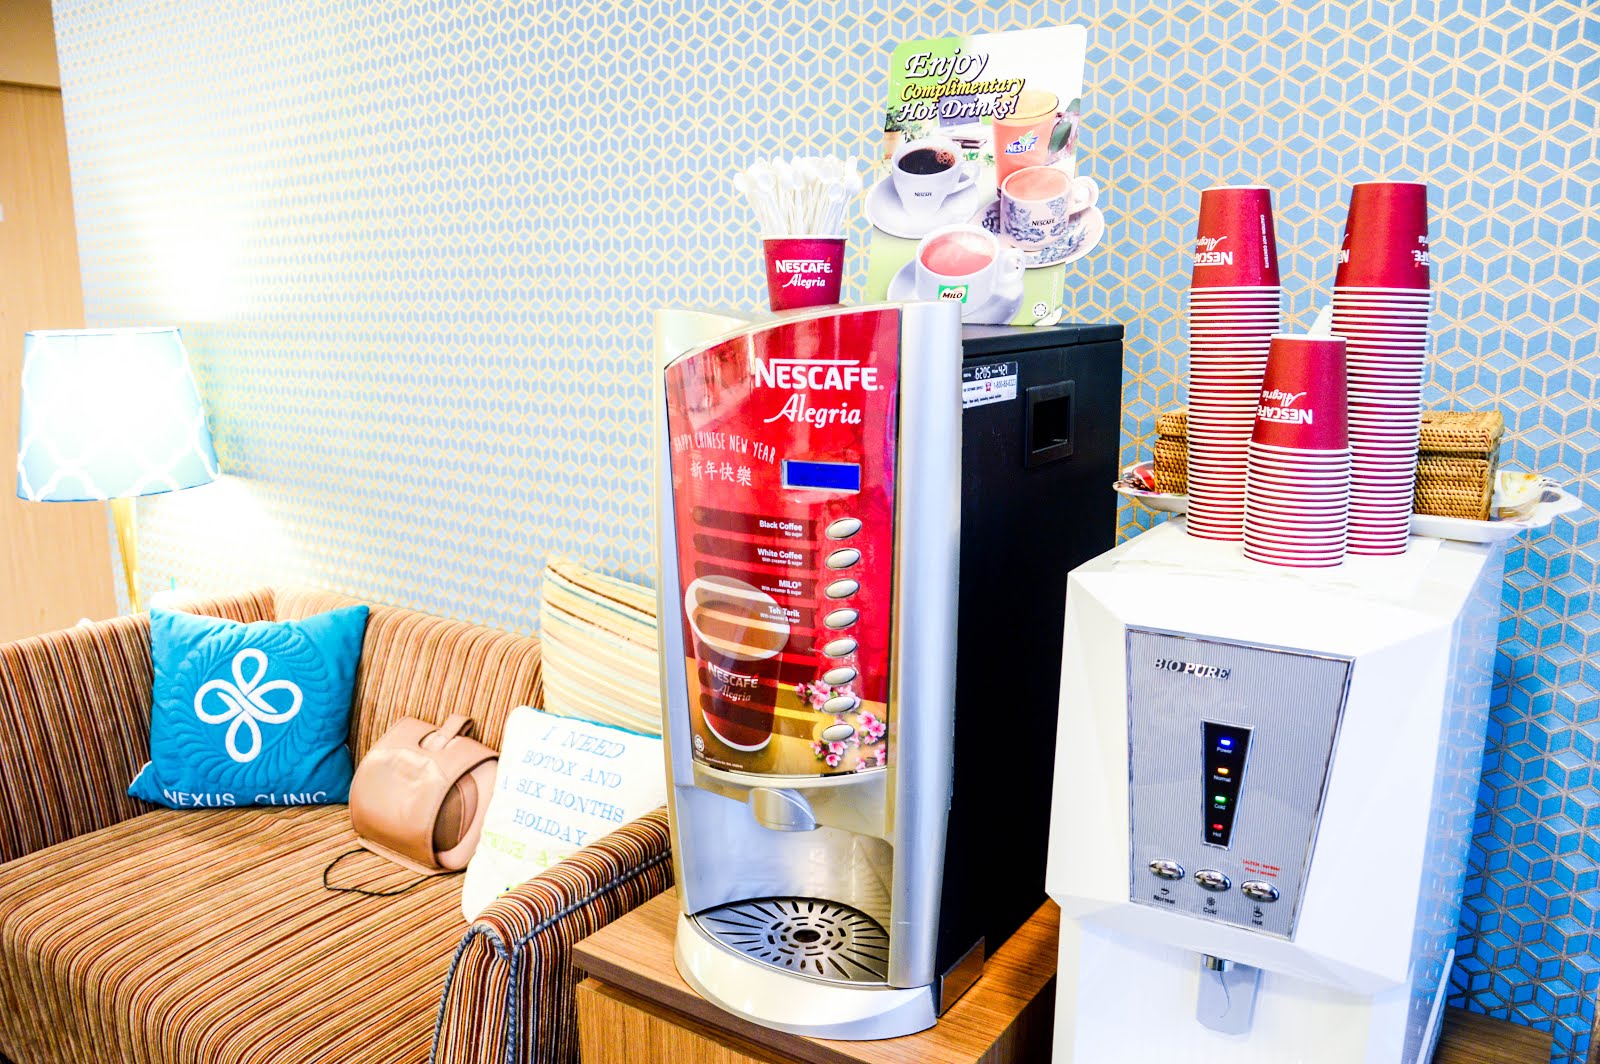
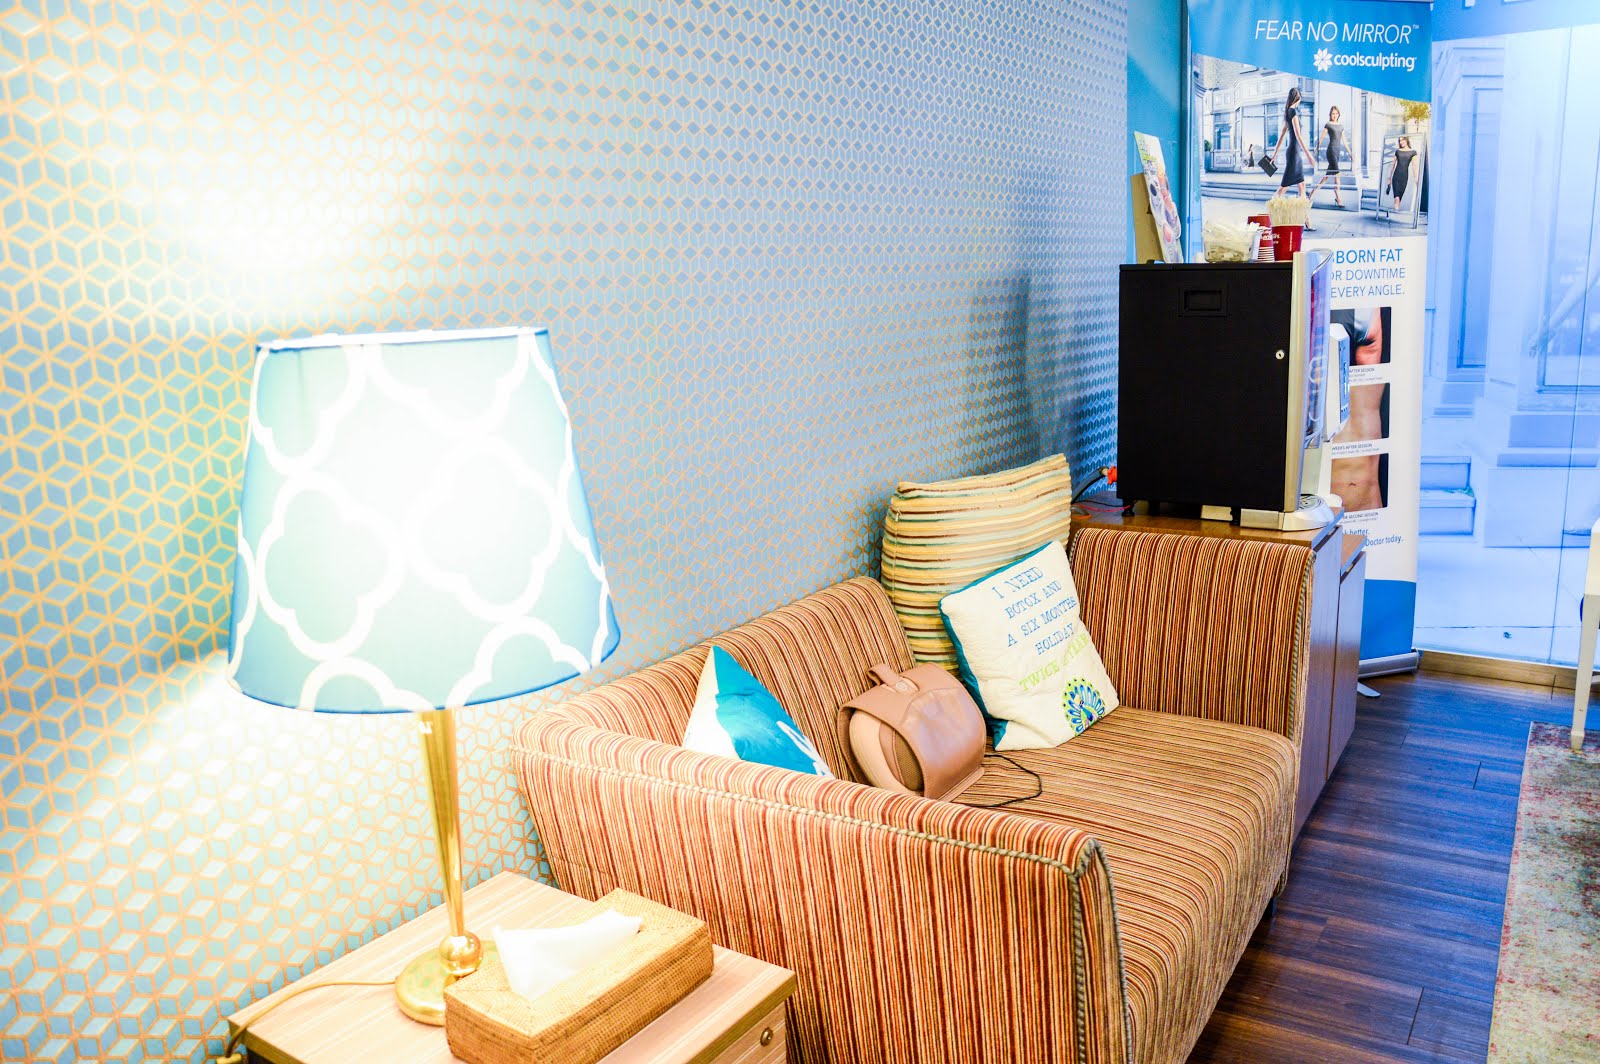
Interior of the clinic
Brochures which you can refer to while waiting.
FINALLY MY TURN!
After waiting for around half an hour (which I’d used to go around and take pictures :D), I was led into a wide and spacious room to start my treatment. Inside the room I spotted a few machines and a comfortable-looking bed. I didn’t need to change, so I left my bag with my mum in the corner and lay on the bed. My aesthetician gently pulled my hair back and covered my neck with a towel during the treatment.
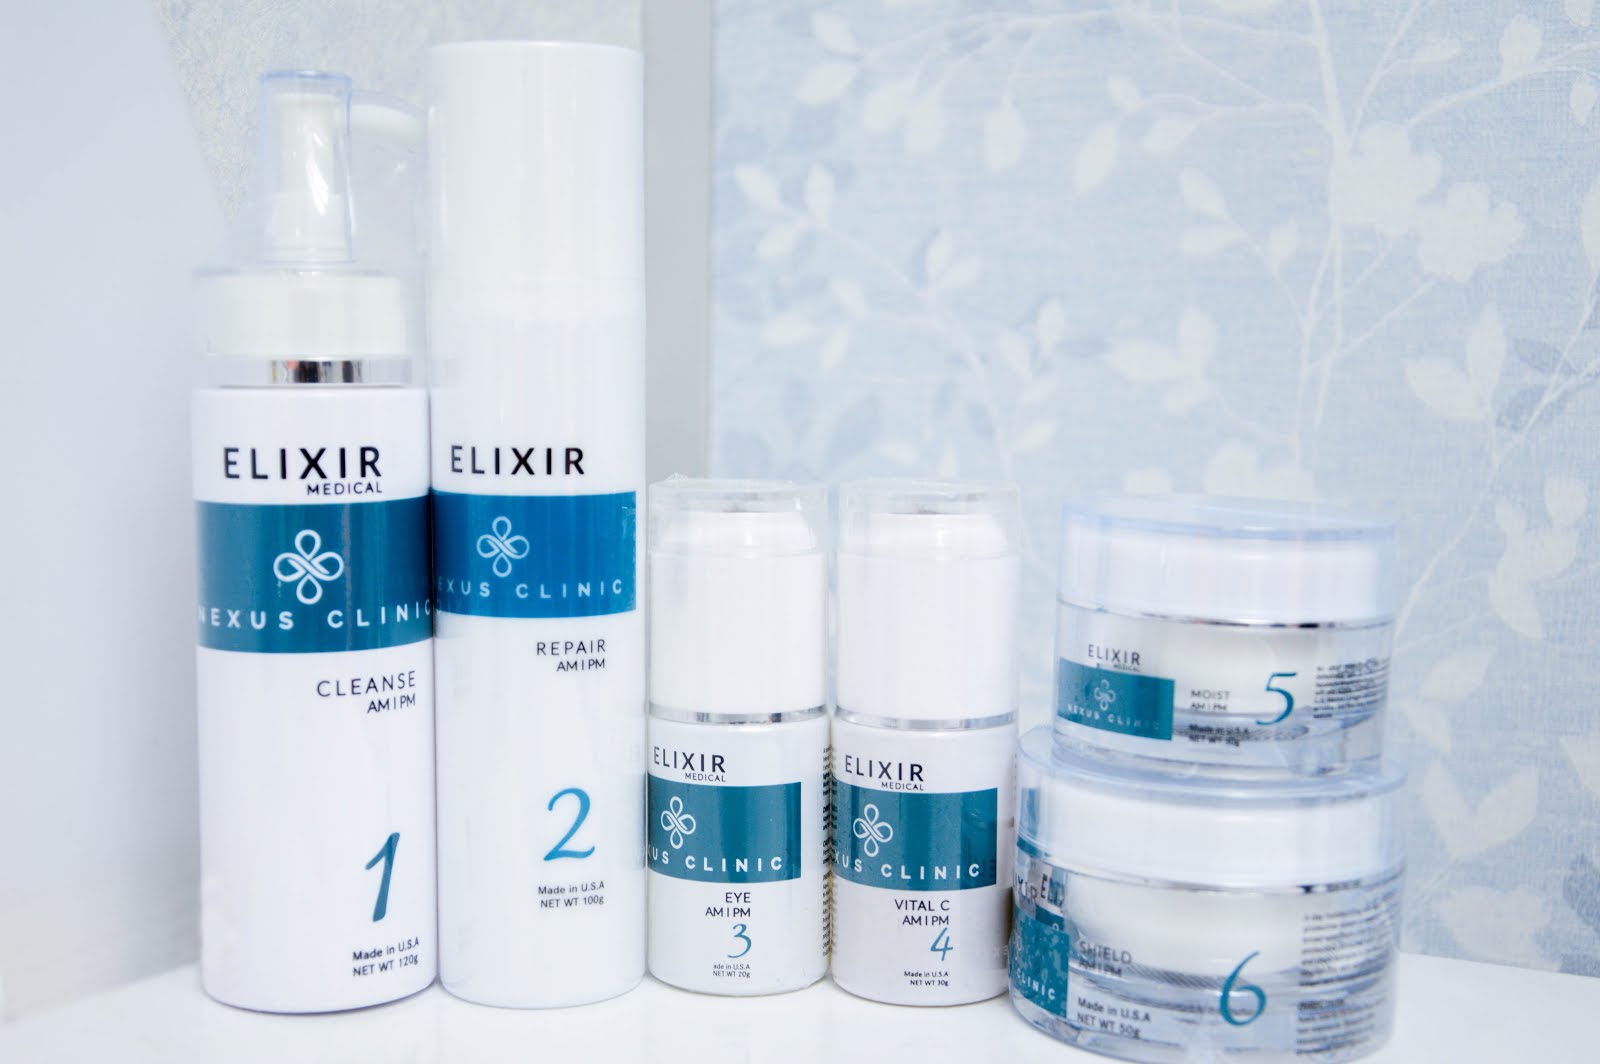
USING ELIXIR
I love how they are all numbered to avoid confusion. All Elixir facial products used can be purchased directly from Nexus Clinic, subjecting to doctor’s recommendation.
Referring to the picture above, from left to right:
1. Elixir Cleanse (RM118 for 120g)
2. Elixir Repair (RM158 for 100g)
3. Elixir Eye (RM288 for 20g)
4. Elixir Vital C (RM388 for 30g)
5. Elixir Moist (RM288 for 50g)
6. Elixir Shield (RM158 for 50g)
STEP BY STEP WITH MY UGLY ANGLE
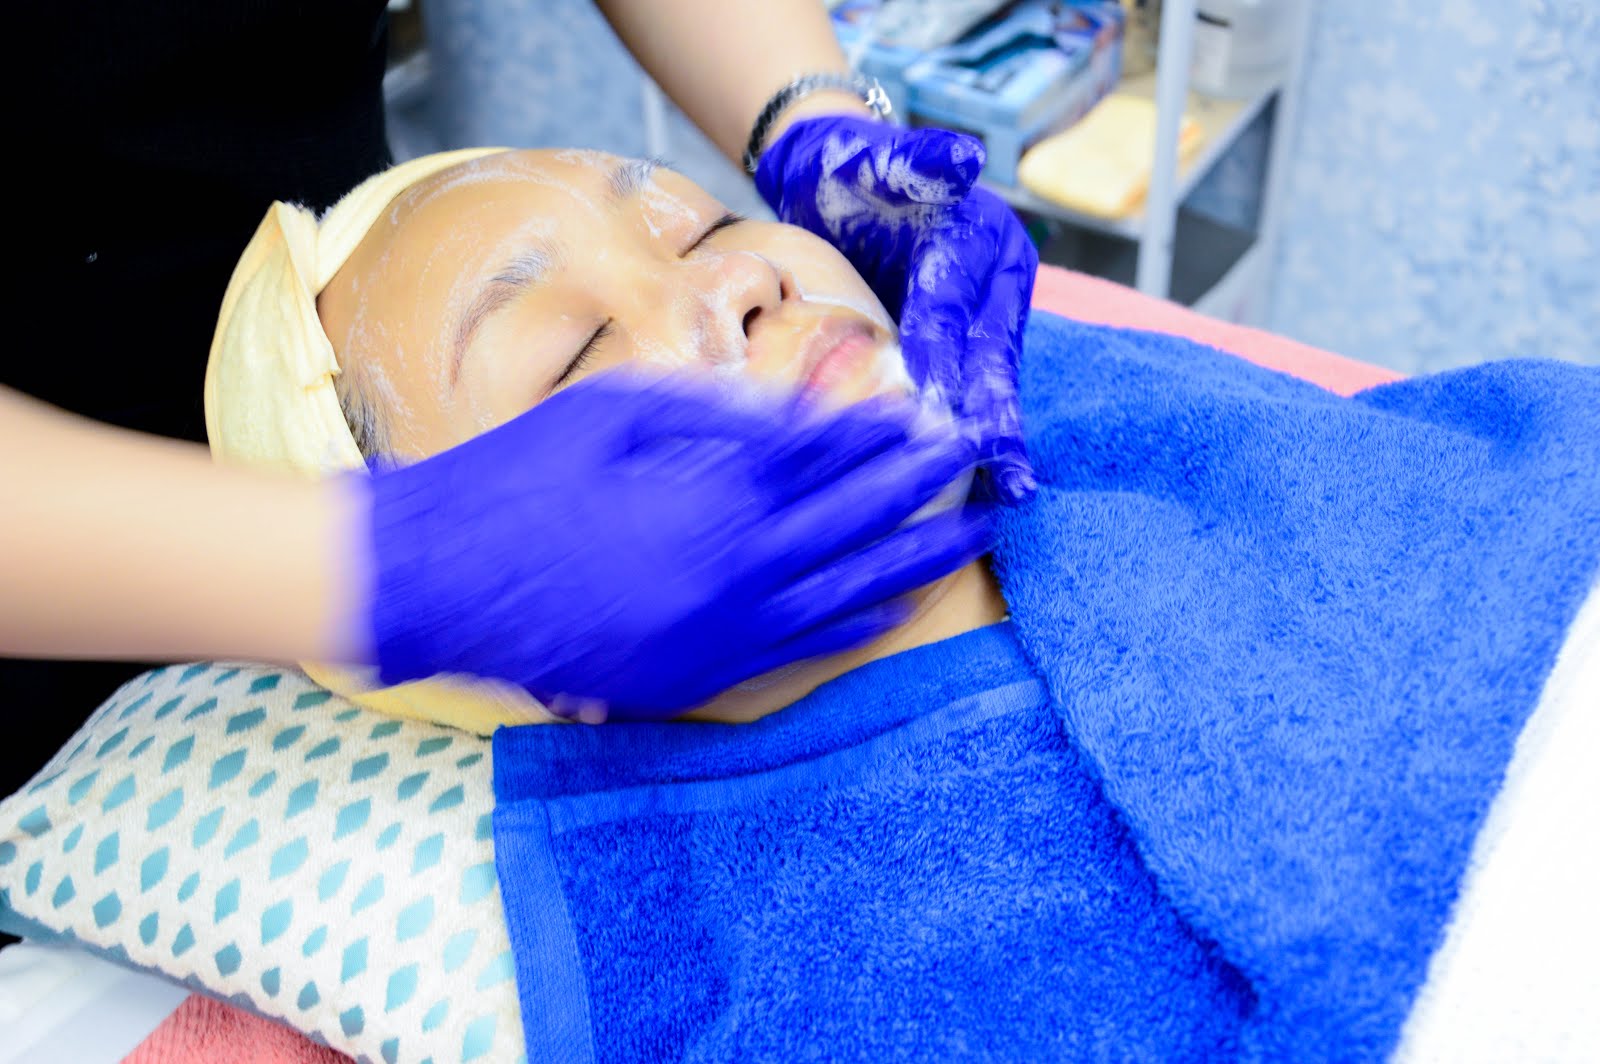
Using Step 1, my aesthetician cleansed my face thoroughly to remove dirt and makeup. I was absolutely surprised to find out she was wearing gloves to keep things hygienic.
EXFOLIATING MY SKIN
She then wiped the cleanser off my face with sponges and proceeded to tone my face with the Elixir Repair a.k.a Step 2. Here comes my favourite and most longed treatment of all: microdermabrasion. I’ve been wanting to get this for years (I’ve even thought about getting an at-home machine for myself HAHA) but have been put off by the price again and again because it costs around RM150 to RM699 (according to Google) on its own. So now I finally have the chance!
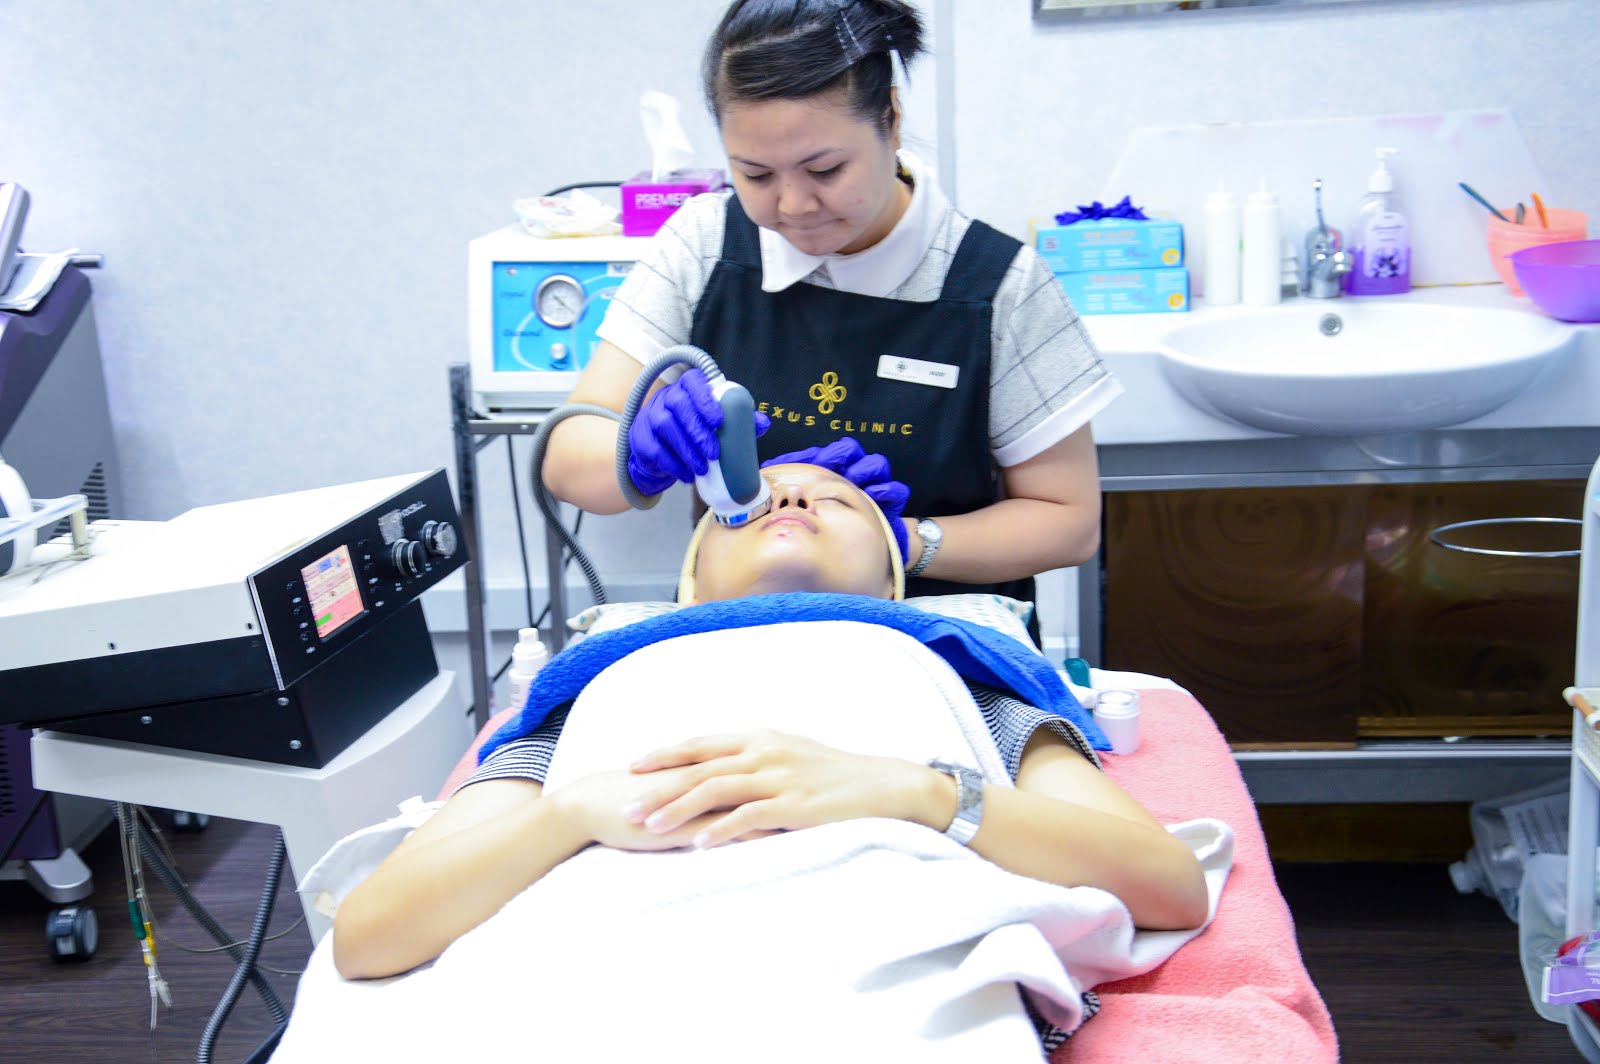
Enjoying my first microdermabrasion.
MICRODERM.. WHAT?
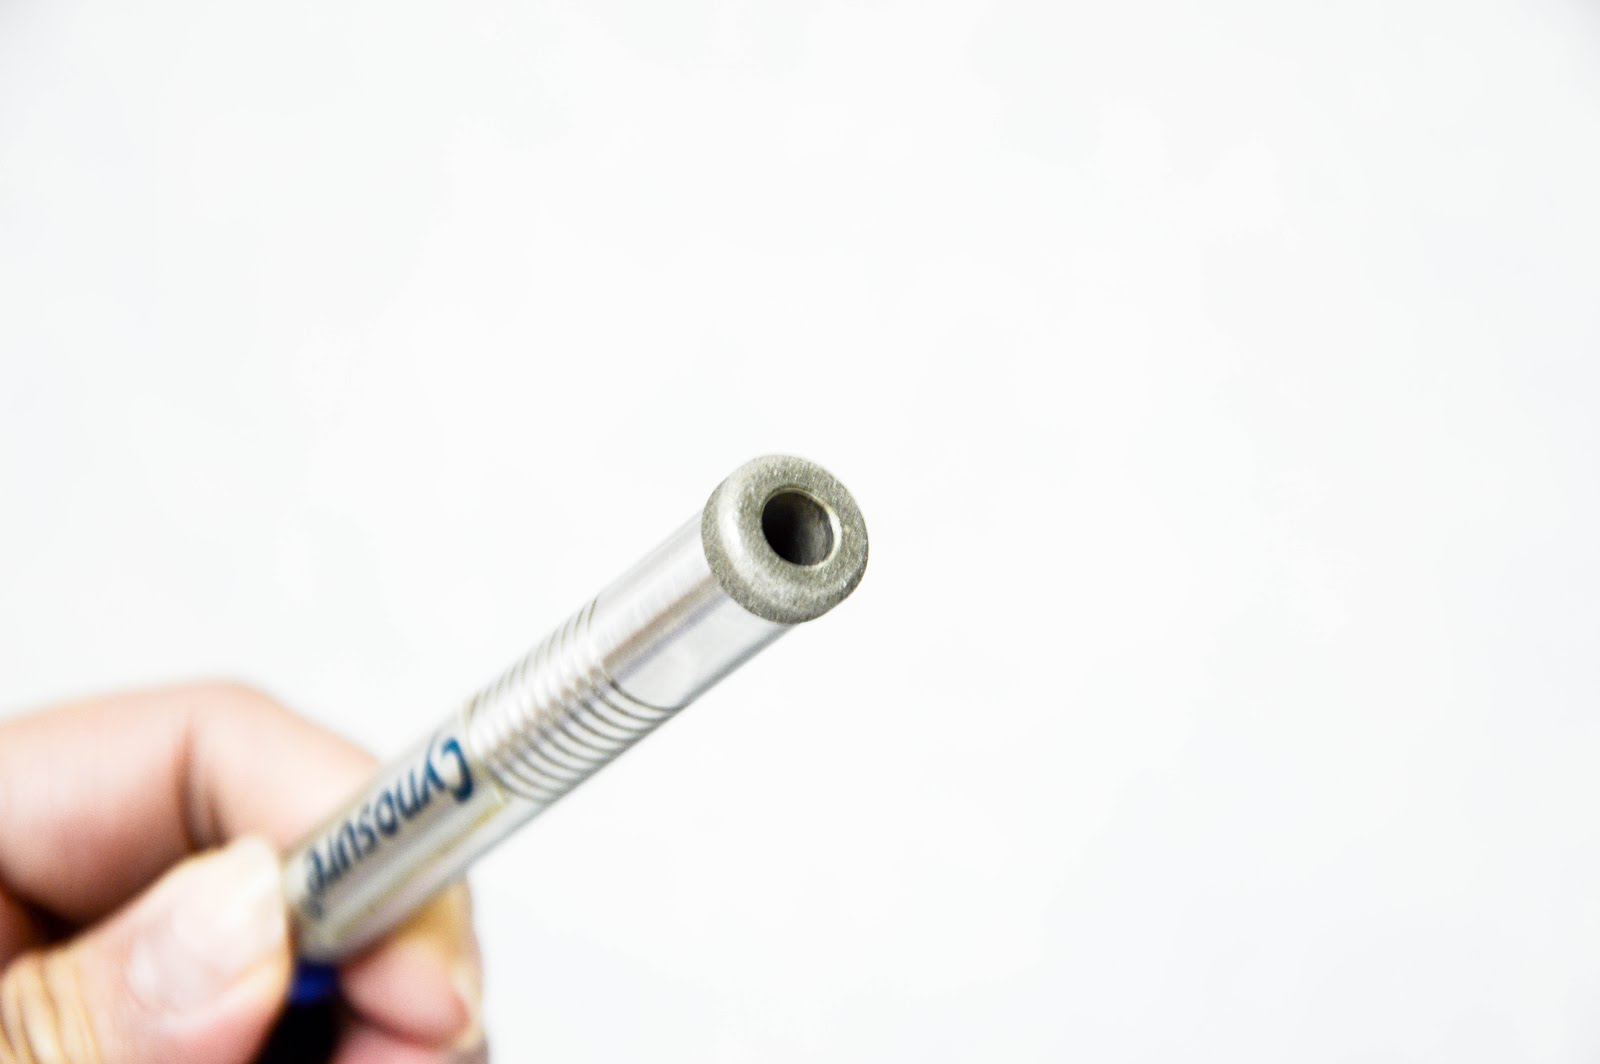
Don’t be scared by the name. Microdermabrasion is a non-chemical, non-invasive and painless procedure. It uses microcrystals to remove the outermost layer of dead skin and suck it away with a suction tube (picture below). All I felt during the procedure was a gentle pull on the area where the tube came in touch with. It felt so good to have all the dead skin cells removed from my skin!
How the suction tube looks like.
GET IT ALL OUT!
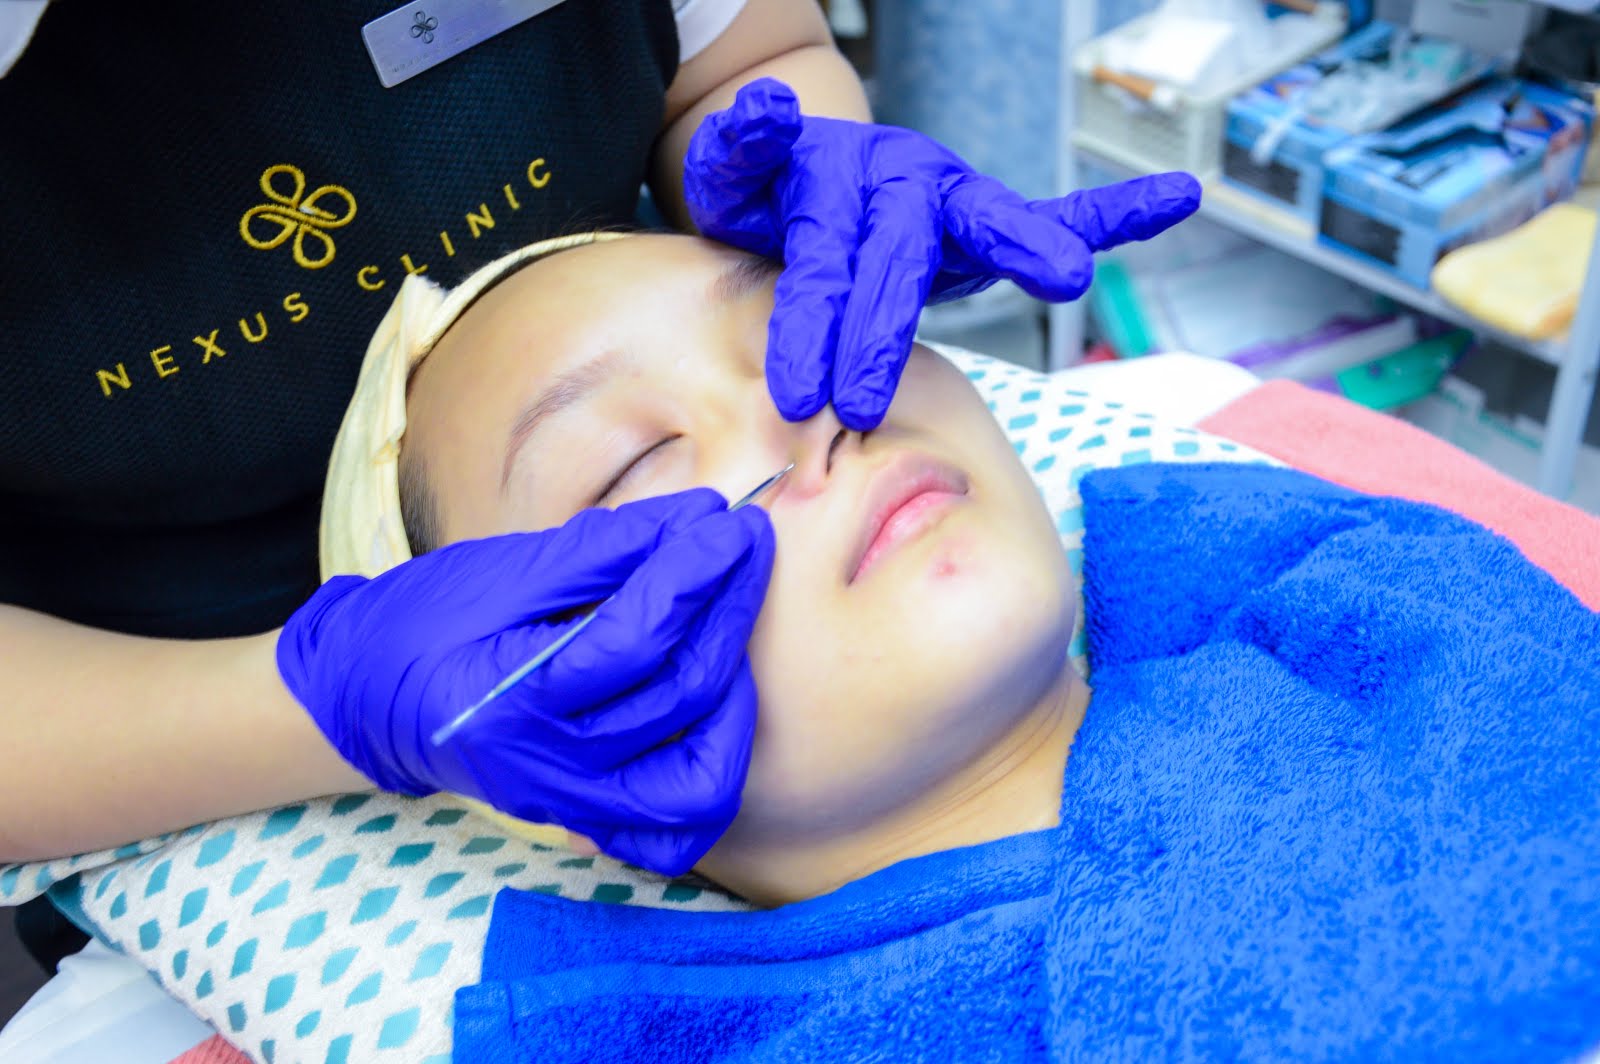
Followed on, is the most dreaded part of every facial: EXTRACTION. It was the most painful when she was cleaning up the blackheads on my nose! My tears wouldn’t stop flowing and I thought I have a high pain tolerance! If you’re not particularly good with tolerating painful extraction, you can request for your aesthetician to be gentler during the process.
Ouch ouch ouch ouch ouch ouch ouch ouch ouch.
I RECOGNISED THAT SMELL!
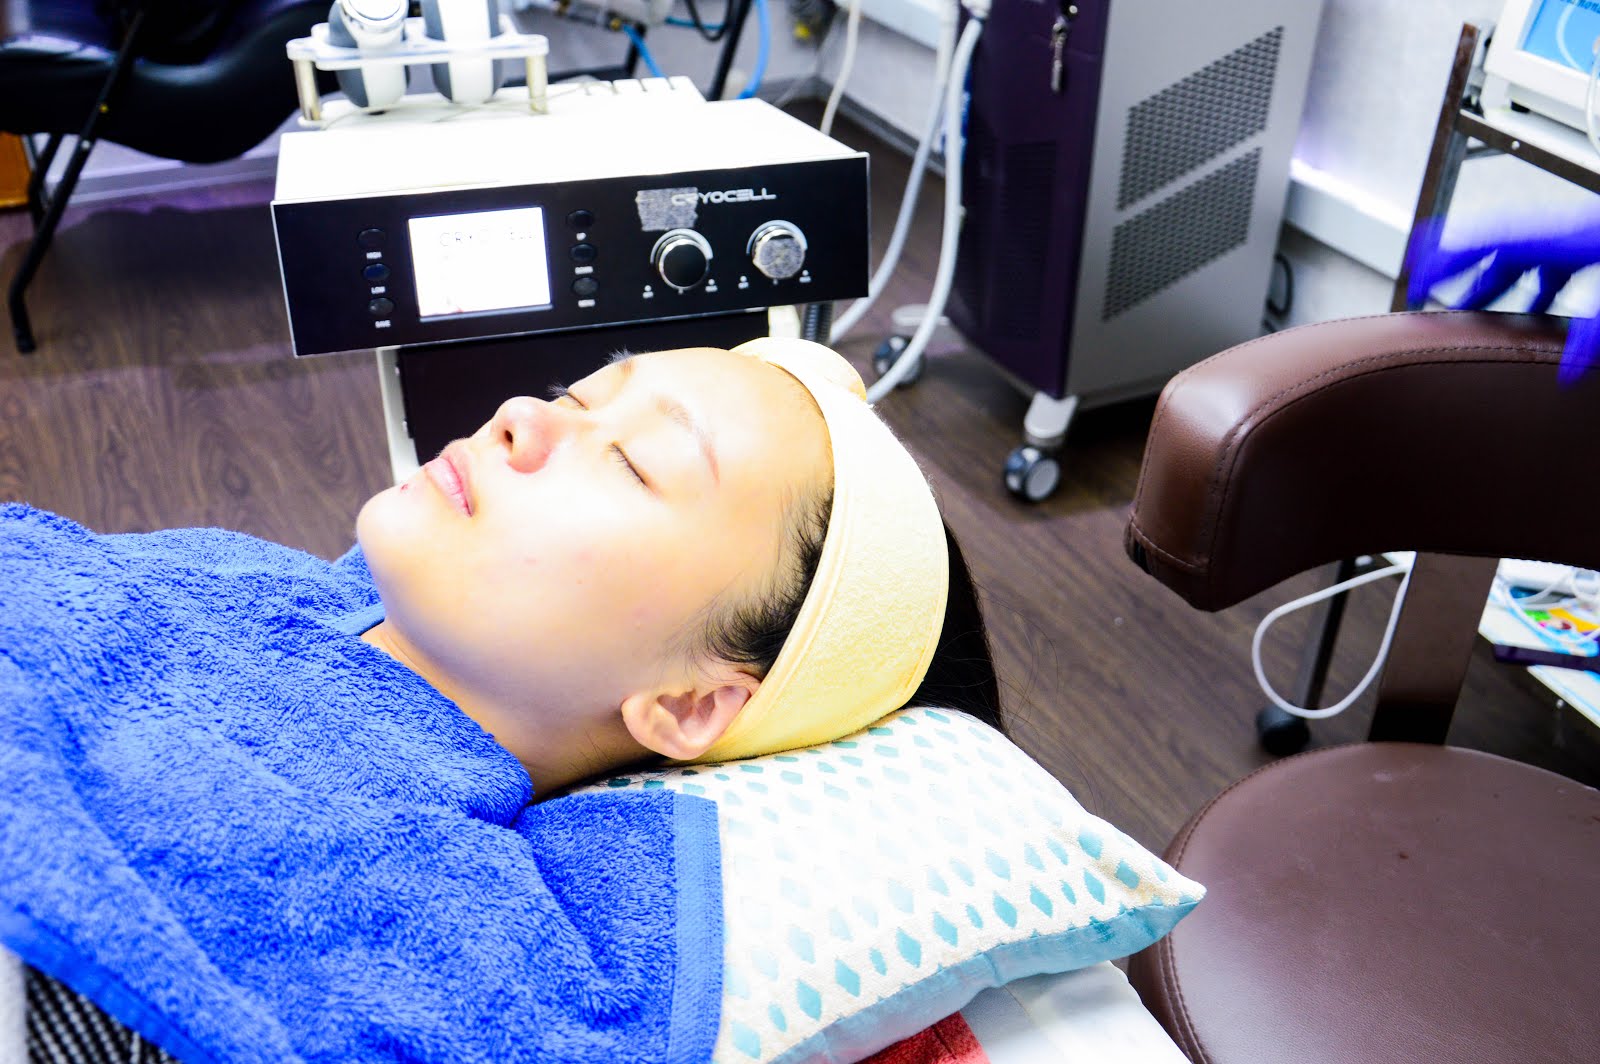
My aesthetician warned me that the Cryocell Cold Electrophoresis would be cold to calm my skin, but it felt perfectly tolerable. Before starting the therapy, she applied a serum to my face. As soon as I smelled it, I recognized the orange vitamin C scent, and I was right! She was using the Cryocell machine to help the Elixir Vital C serum penetrate my skin during the Medi Spa Facial at Nexus Clinic.
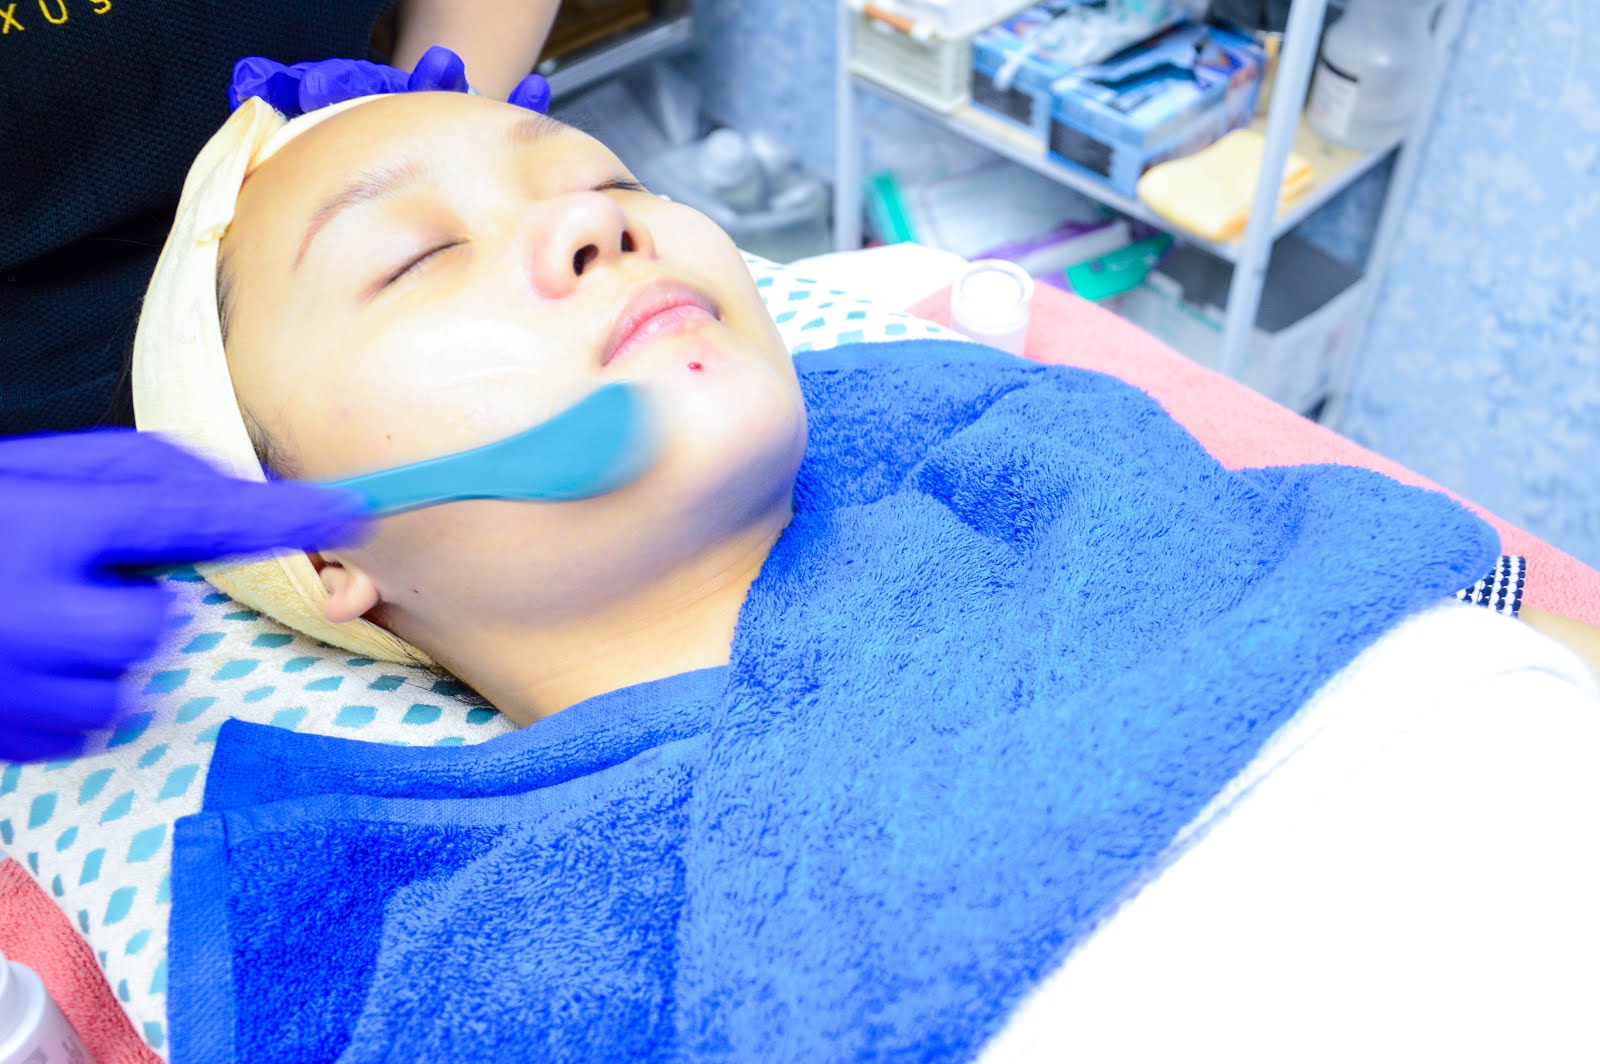
Applying Elixir Vital C
Working with the Cryocell Cold Electrophoresis.
IT’S MASKING TIME!
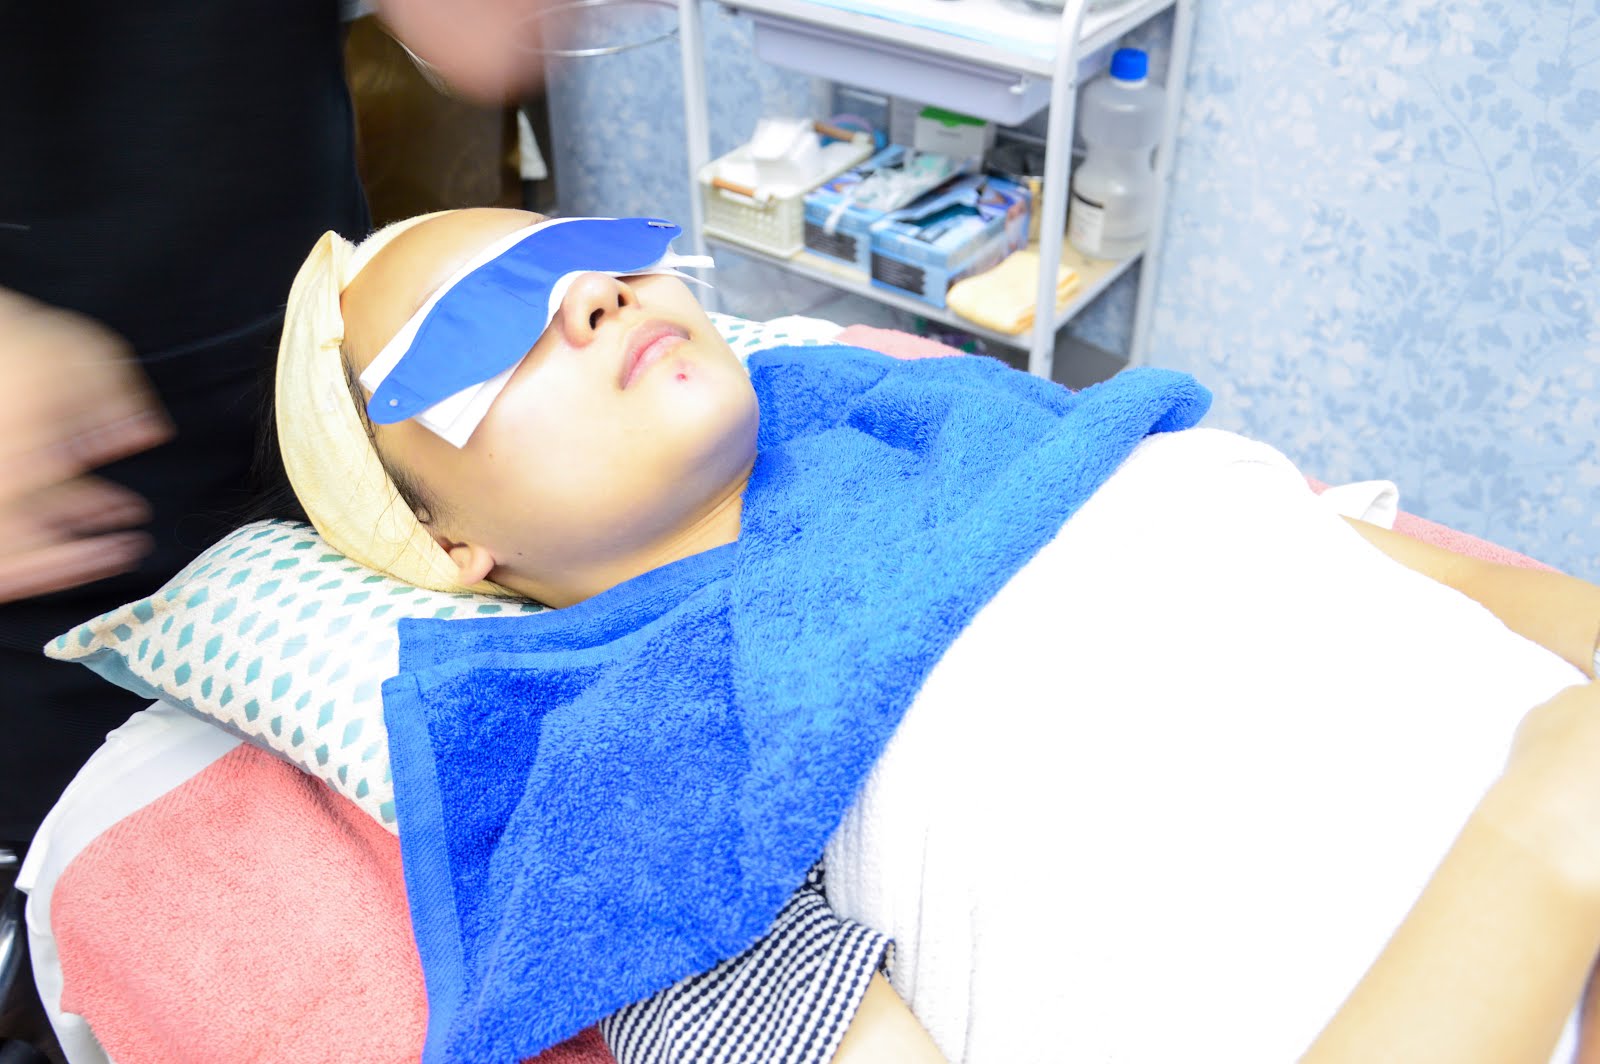
So this was how I look when the mask was on. I looked like a scary mummy hahahah!
NOT DONE YET!
When I thought everything was done, it was not. There’s still one last step which I’ve seen on YouTube so many times: the LED Light Therapy Mask! OMG I’m having so many firsts here and all of them are like dreams come true. I’ve never thought I’d get to experience the Light Therapy Mask after watching so many YouTubers try it. So, yeah, please don’t get annoyed by my overexcitement HAHA. I’m a frog under the well. 😛
Before the mask was put on my face, a tissue and a plastic were being put in between to protect my eyes and ensure hygiene.
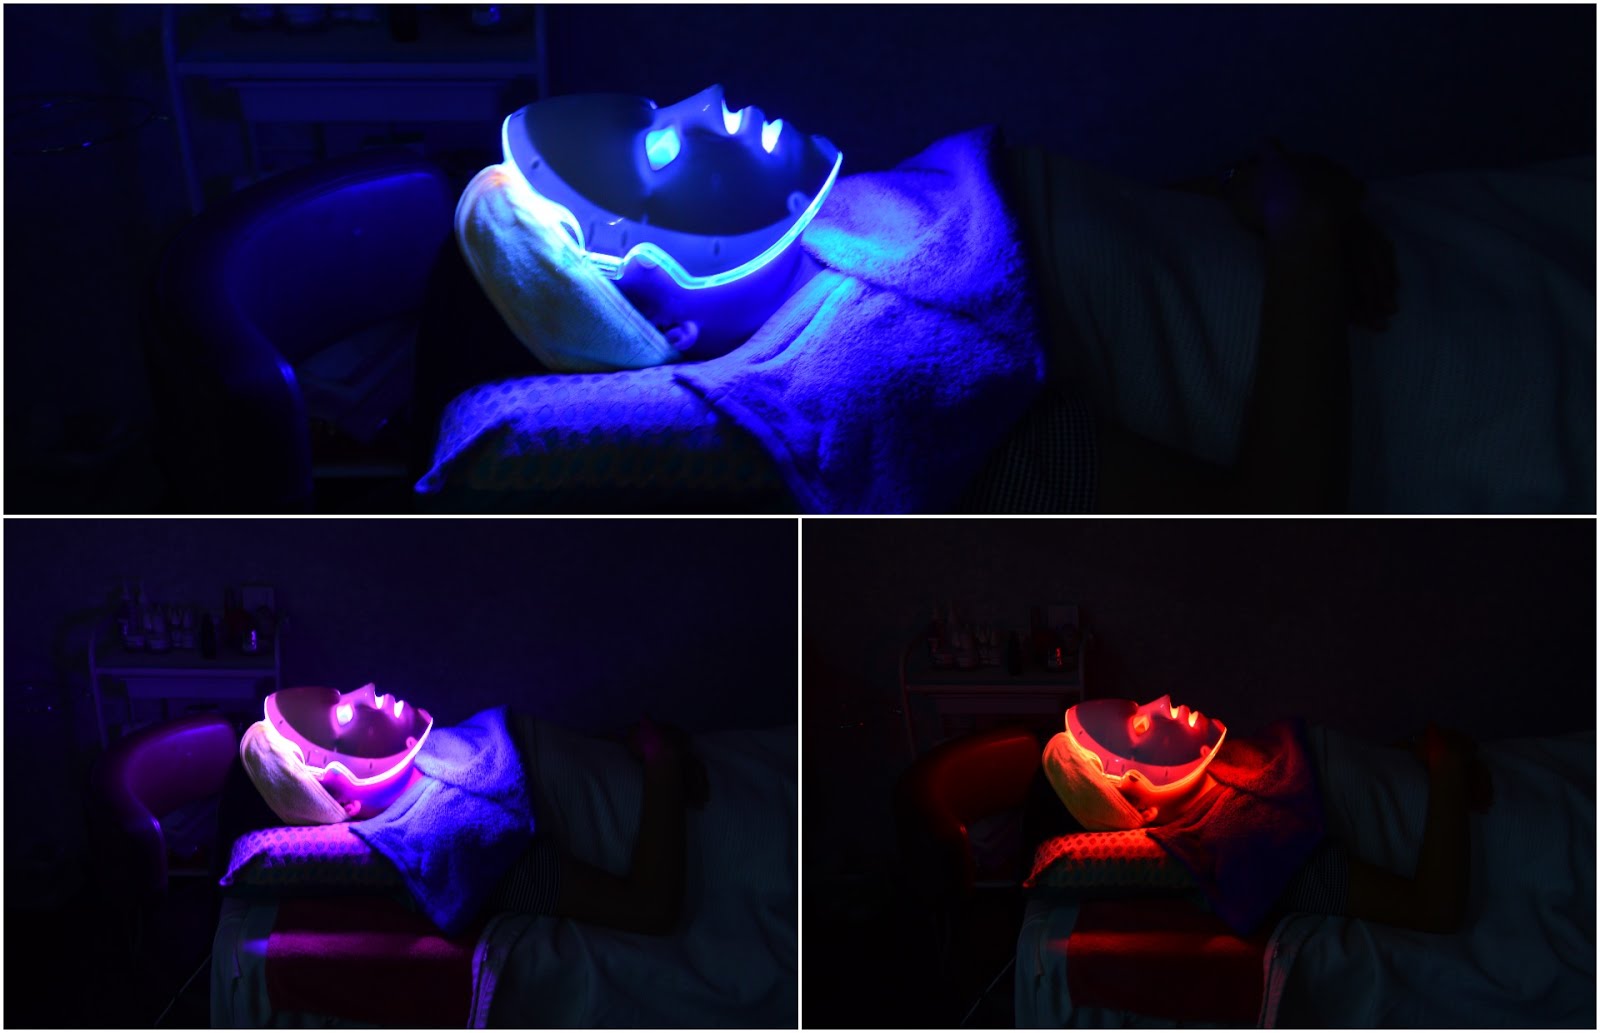
With the lights on, look at the pink light!
With lights off, look how cool it is!
JESSICA ALBA ALSO USES IT!
Also known as Color Light Therapy, LED Light Mask uses “UV-free light with specific wavelengths to help boost collagen production, promote circulation, treat existing acne and kill bacteria, as well as accelerate skin recovery” according to US Weekly. The three different coloured lights each have their own functions. Red is to reduce ageing, blue to kill bacteria and existing acne whereas pink to accelerate skin recovery. All were exactly what my skin needed at that moment. The mask stayed on for about 15 to 30 minutes (I can’t remember exactly!), feeling slightly warm on my skin but nothing unbearable.
CLOSE TO THE END
That was the last treatment step of the entire facial. Phew, that was a lot of steps wasn’t it? Before I got off the bed, the aesthetician pampered my face with Elixir Moist moisturizer and Elixir Shield sunscreen (a must after vitamin C serum treatment).
What I really like about these last two products was that my skin was still smooth and comfortable at the end of the day. This was very different from the oiliness that I usually get after having a facial done at my regular place.
TIME TO COMPARE CHANGES
LOVING THE EFFECT
THAT SPECIAL DEAL I CUED YOU ON
WHERE TO FIND NEXUS CLINIC?
Address:
LG 10, Lower Ground Floor, Wisma UOA II, Jalan Pinang, 50450 Kuala Lumpur, Malaysia.
Business Days:
